



MNMom18
Small in Size, Mighty in Storage!
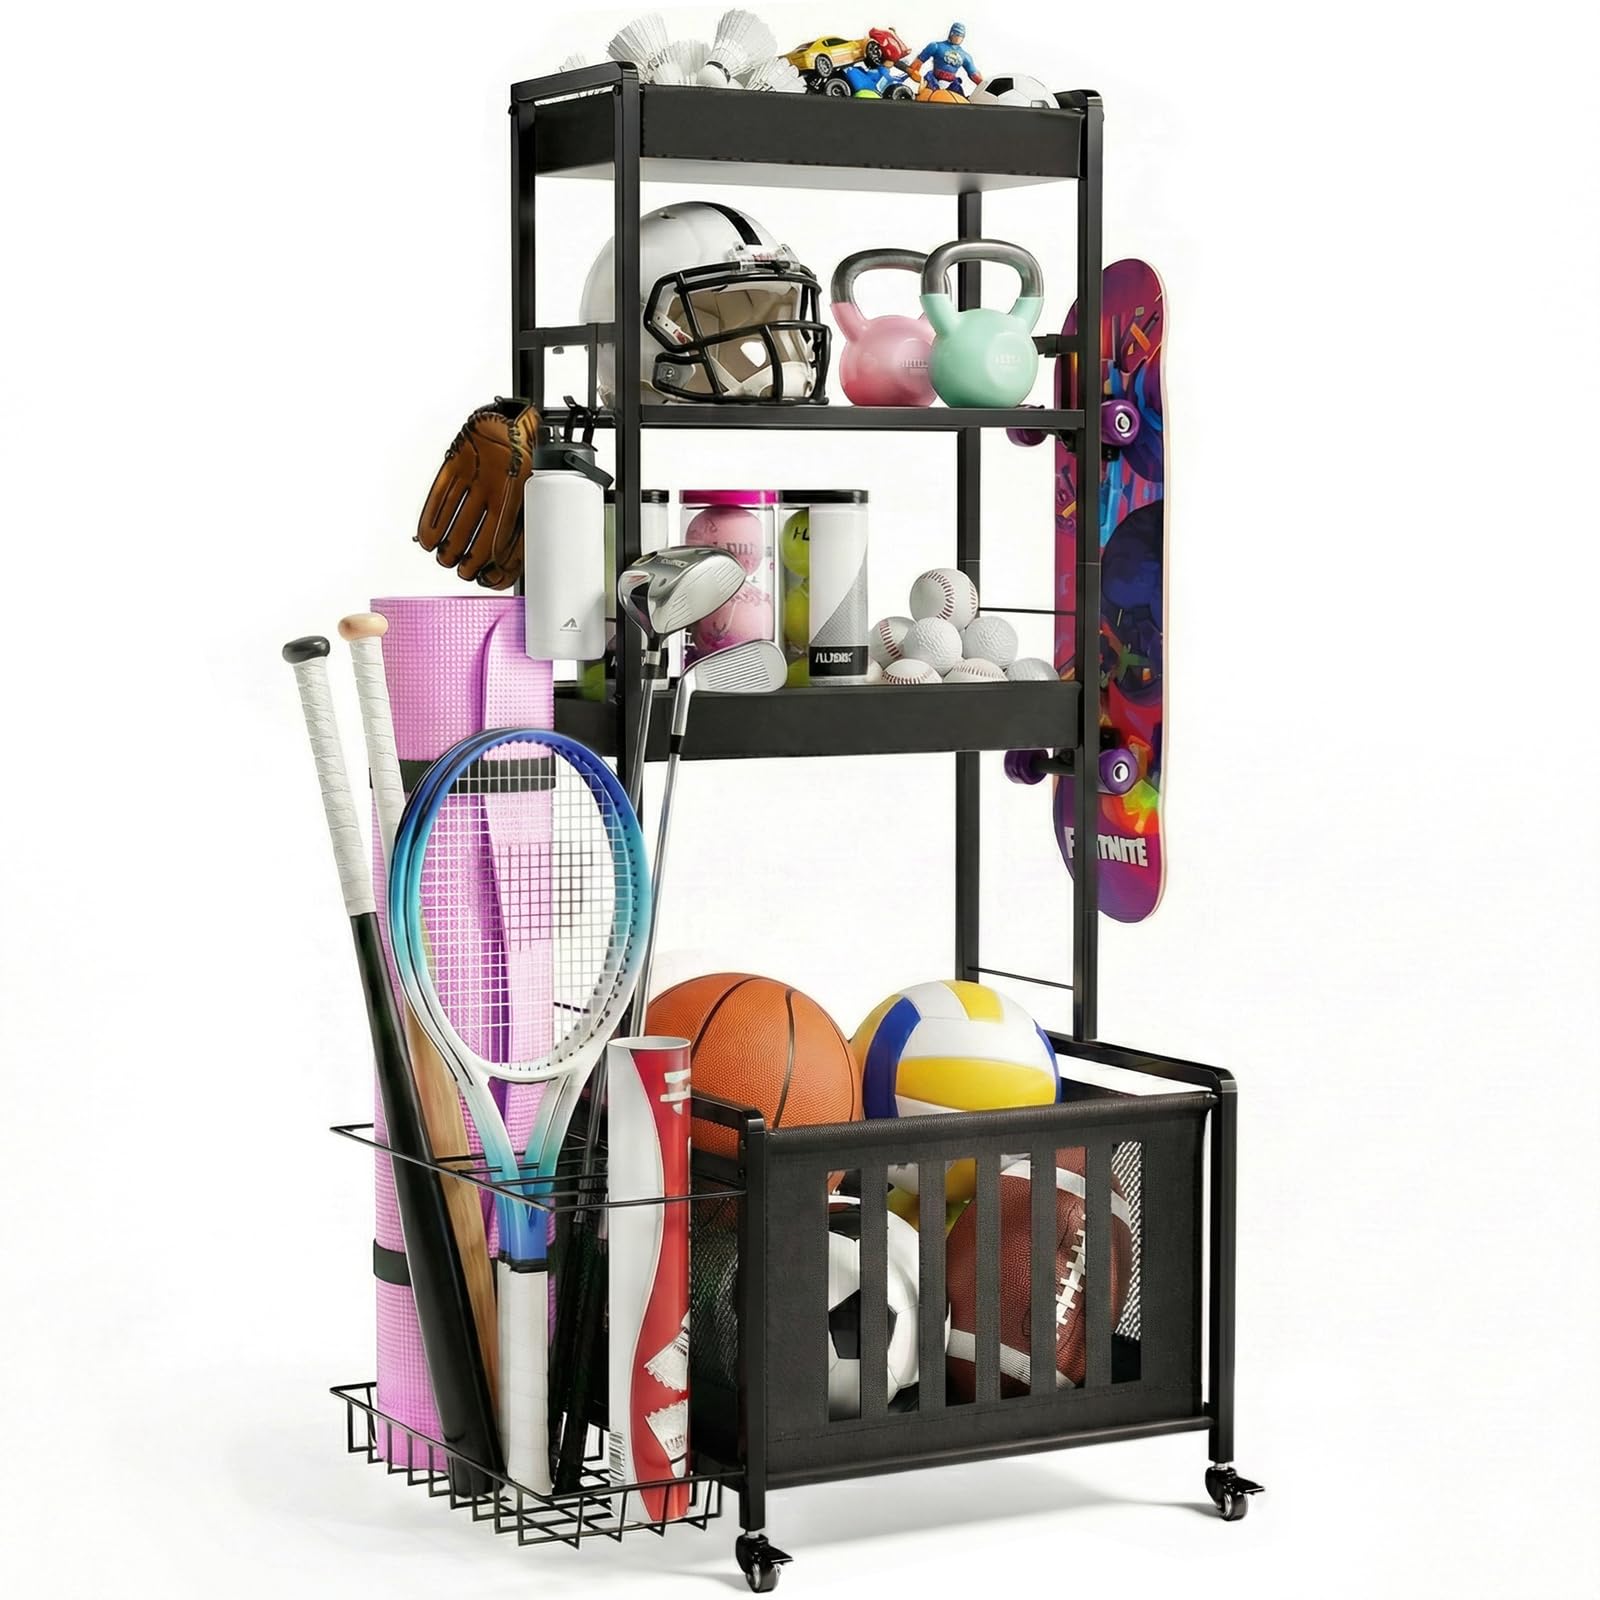
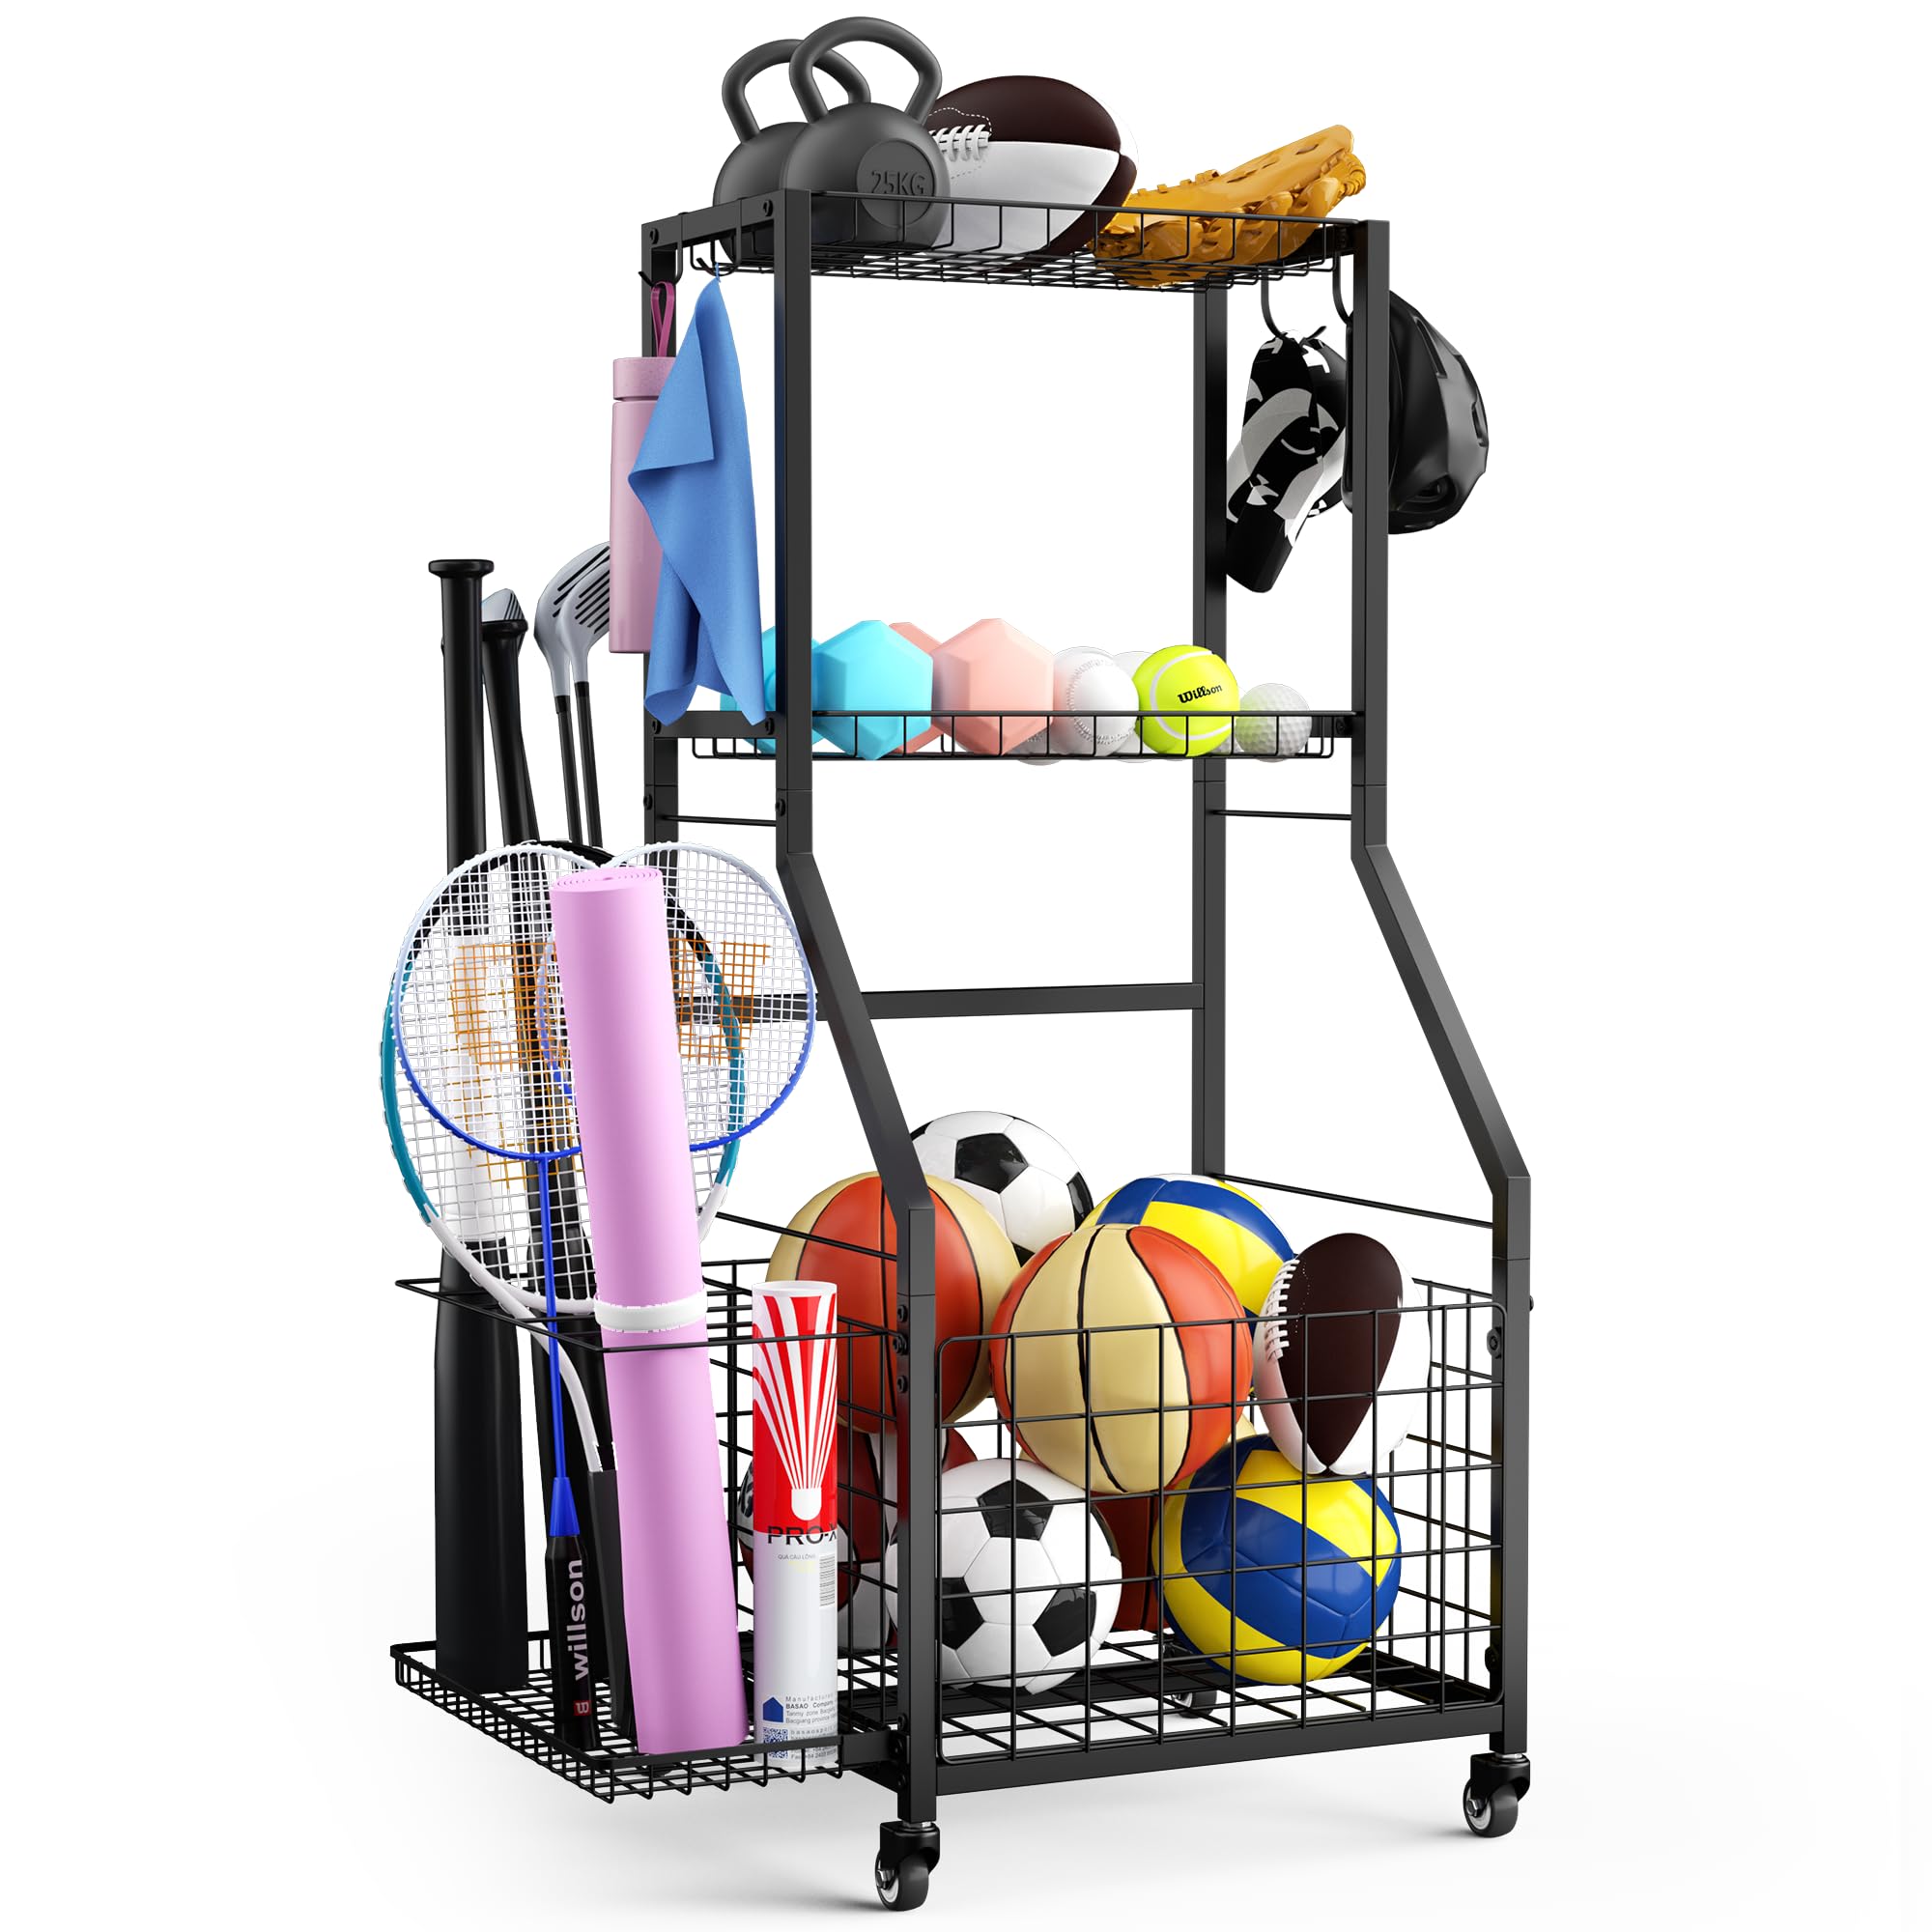
This organizer worked great for our small space. Included in my photos are the "before" box full of stuff that we would have to dig through (and is too tall for the little kids to get into) and the rack. I included a few "after" photos. One was when I initially put everything on it. I got everything from the box on the organizer, except for the snow block makers. Those will be stored with the sleds. It does still have room for some tennis rackets that I have laying on other storage boxes. I had to make some adjustments as I didn't have much height over the top shelf, but I am very happy with how it turned out. The hanging plastic bags will be replaced with mesh bags so that we can see the balls and badminton birdies stored inside. I love that we can now see and reach all of these items that were buried in the box! Yes, it is small, but it was perfect for my space and it is mighty!The one ding is on the assembly instructions. They are picture-driven and are decent, but could use a few more specifics. This should have assembled in less than 30 minutes but took me longer due to some assembly missteps.1) There is "front" and "back" to Part A (the first pieces you assemble). Take a look at Part E and make sure the holes on the "inside" of A line up with that piece that gets added a couple of steps in. I had the bottom in and thought that the holes for E (front and back of bottom basket) were misaligned. When I went to disassemble, I noticed that the holes on the other side of each A piece were slightly different. So, I unassembled and reassembled properly.2) As with most assembled items, don't crank them tight until all of the pieces for that level of assembly are complete. You need the "give" to make sure the side pieces fit in well.3) There is a "left" and "right" on the side pieces all the way up. (They aren't labeled that way since you can have the side baskets on either side.) Just make sure that the U of the metal you are inserting into the lower brace is on the outside so that there are two pieces of metal next to one another to screw into.4) Two of the wheels have locks and two do not. Make sure you are putting the locked ones on the front of the organizer. (Another review mentioned this, but I forgot, so the first one was on and then removed again.) Also, make sure you are spinning the little disk on the top of the wheel to tighten, since the wheels themselves have a 360-degree spin.They included the tools needed (allen wrench for structure assembly and a small wrench to tighten the wheels) as well as one extra long and short screw, which I always appreciate. Did not need the extra screws. The finish on the product was nice and the organizer is sturdy. Not climbable, but good for storage and easy to move. They don't provide any contact or customer service information, so if you do have a problem, you need to return it.Ver másVer menos
7 personas la encontraron útil