



Shawn Patrick
21 de marzo de 2025
Incredible Results, Take Your Time
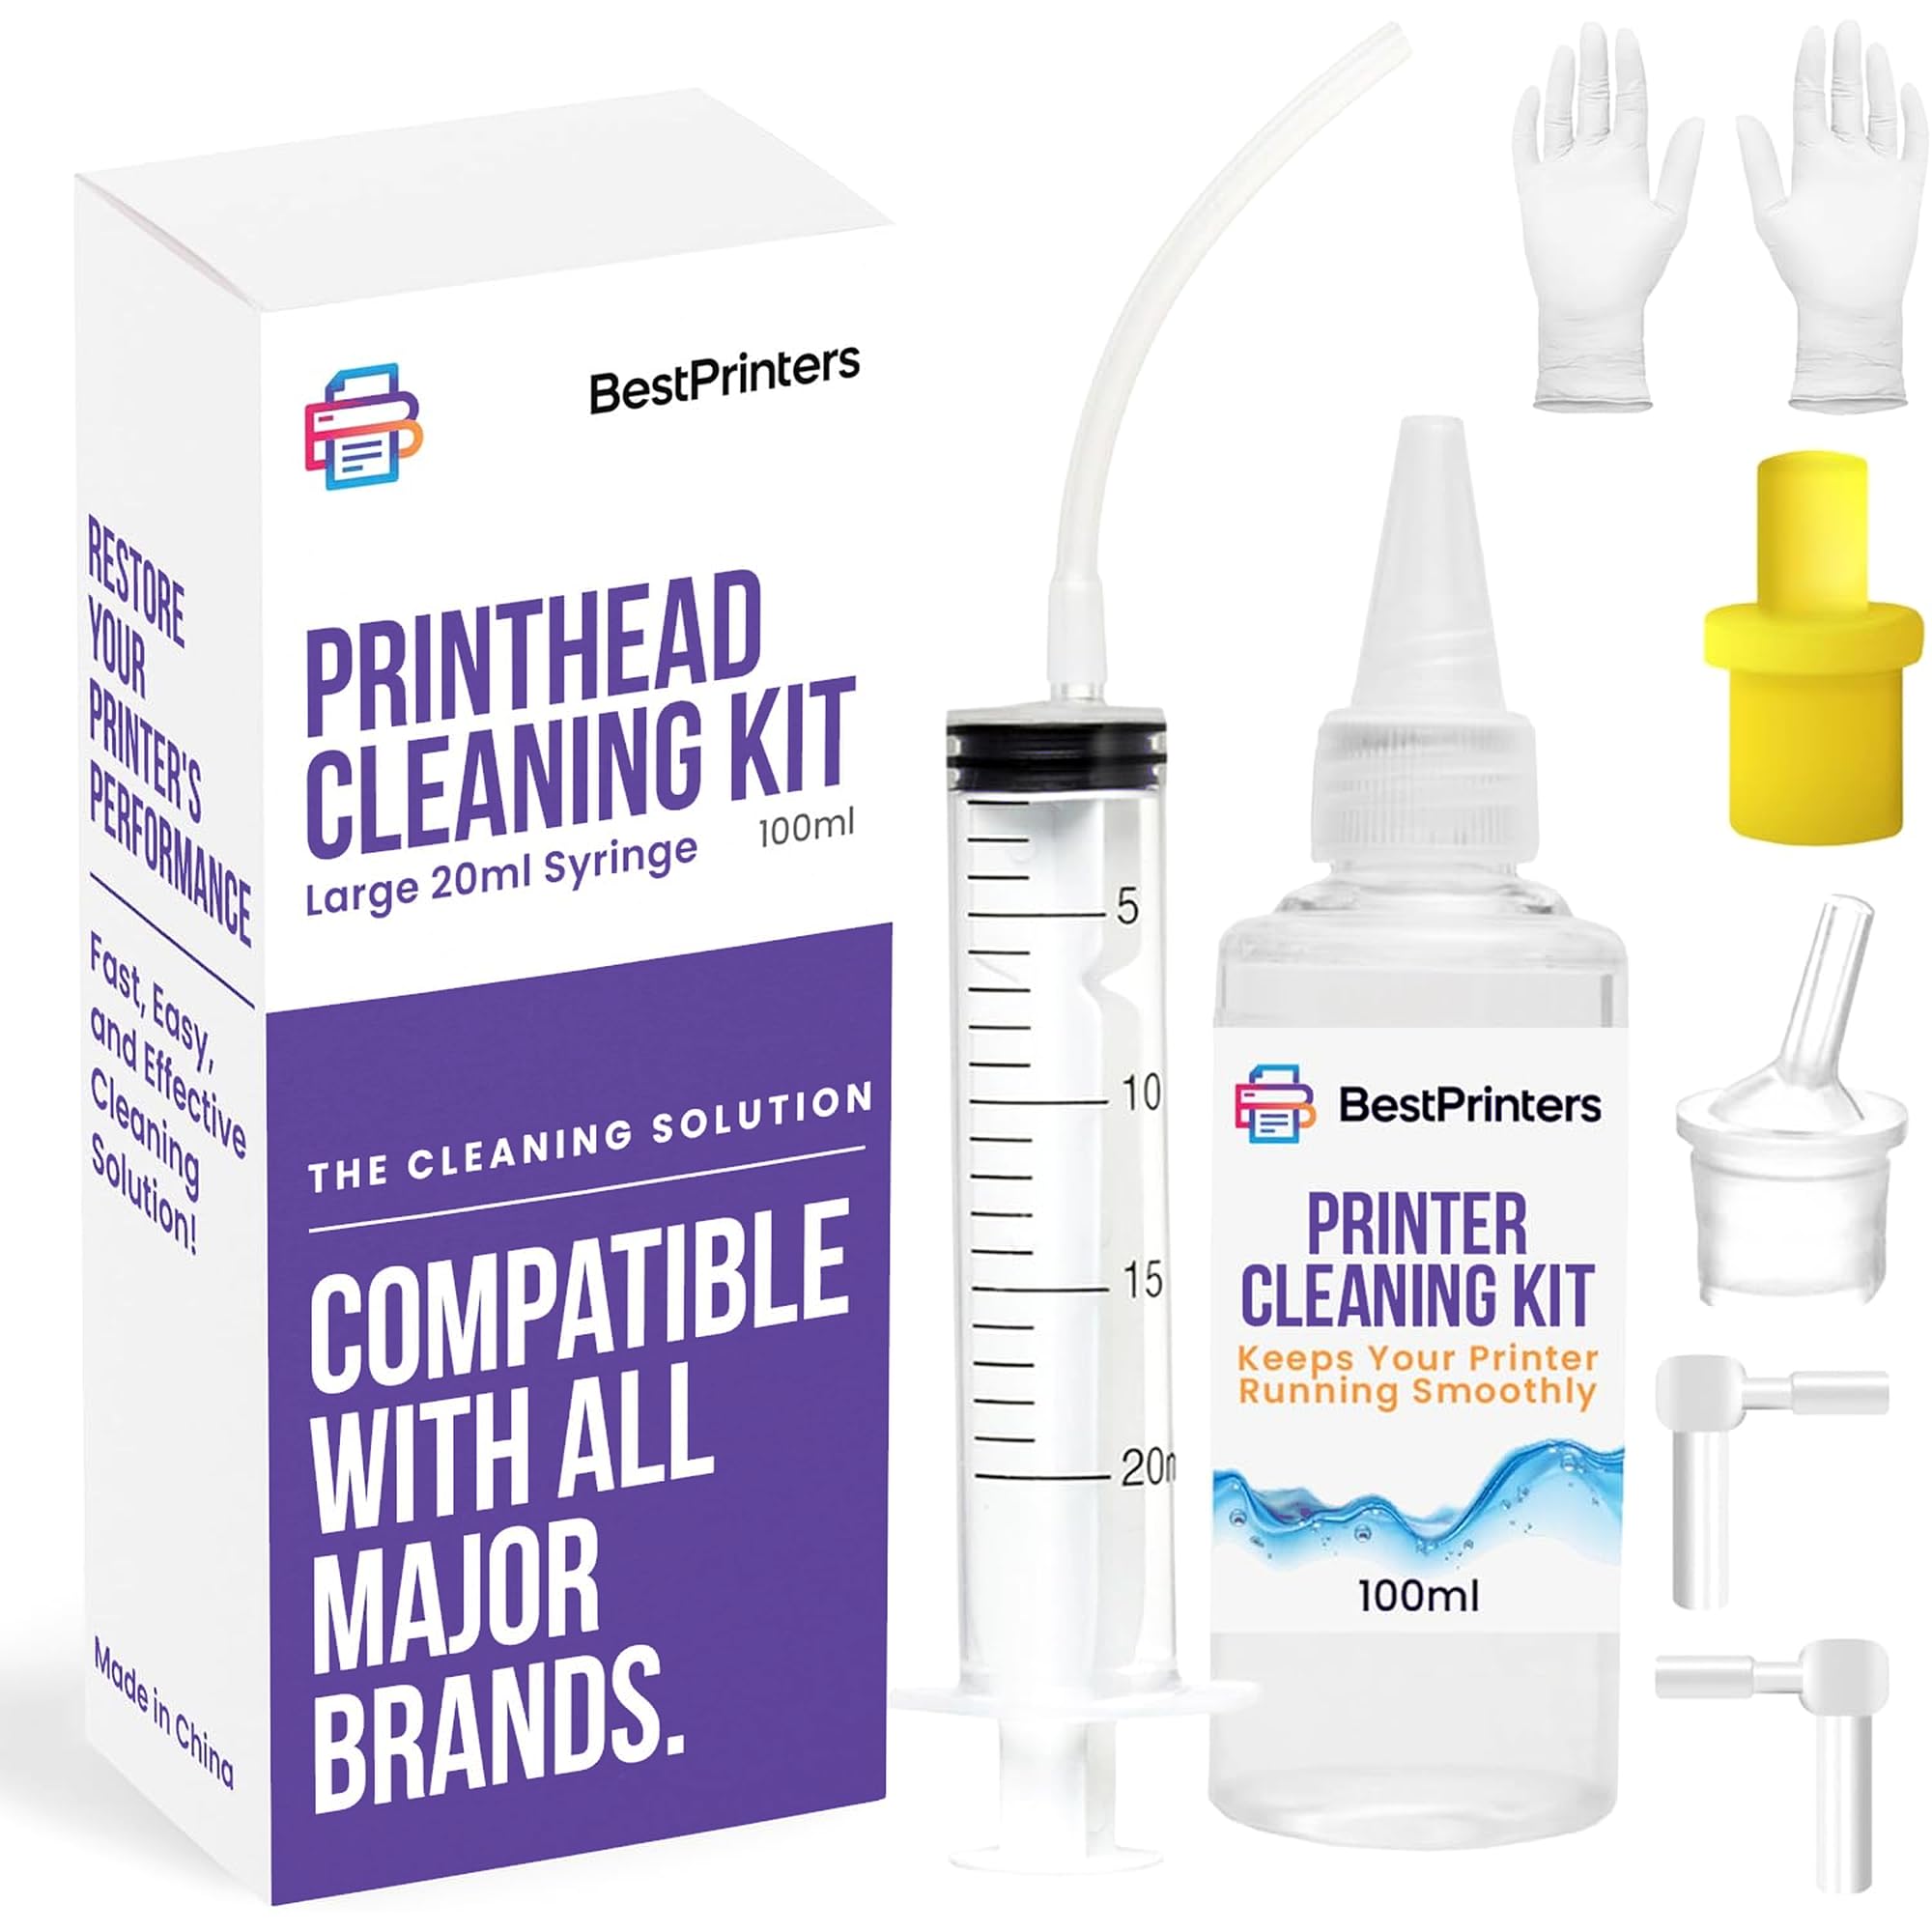
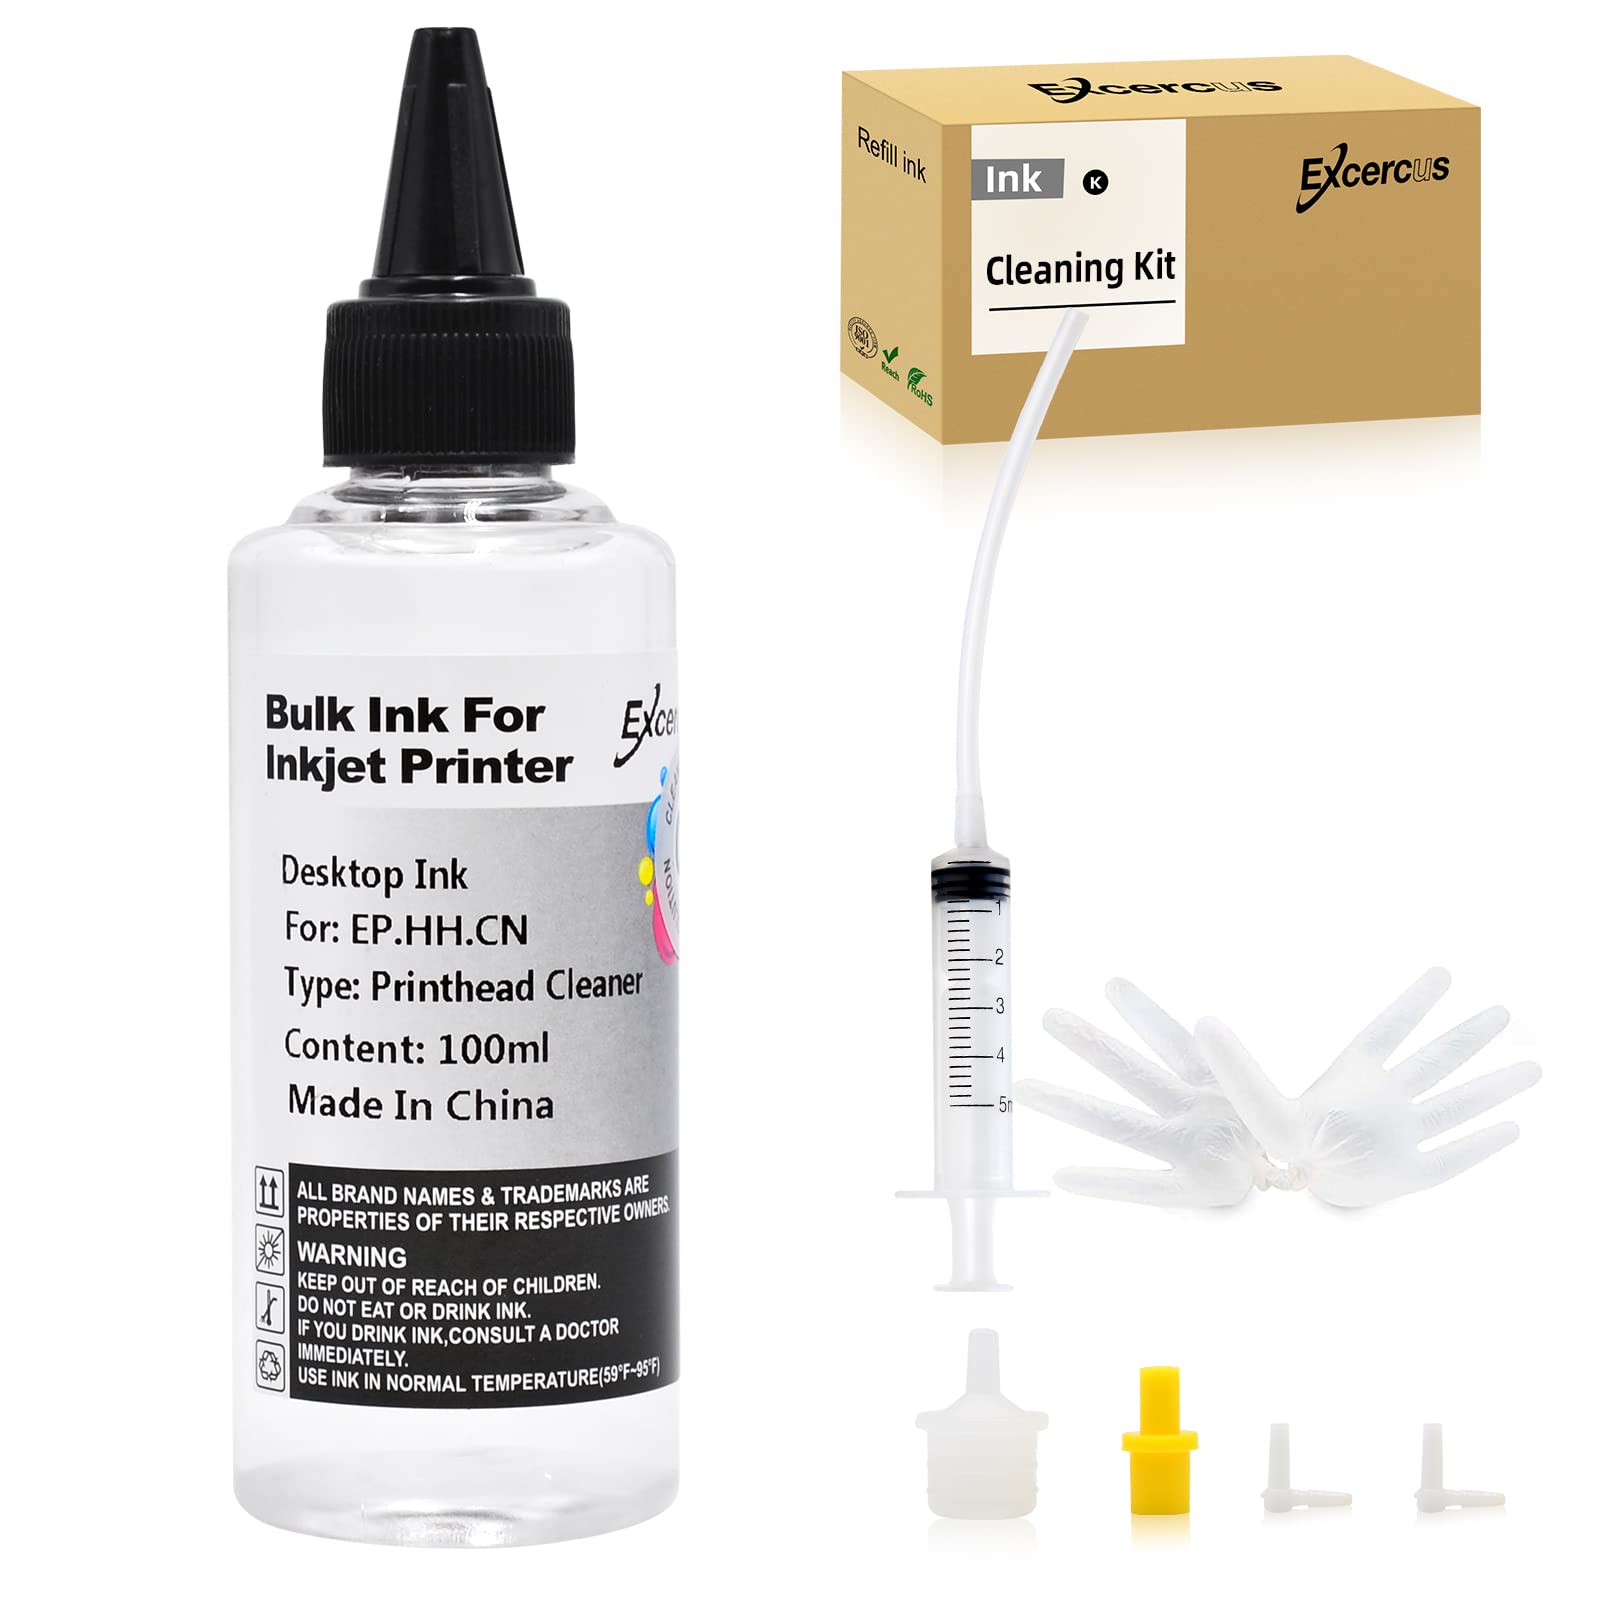
Very easy to use and very effective!Simplified directions for an effective cleaning:1. Go into your printer menu and have it start a print nozzle cleaning. Be ready to disconnect the power immediately after it starts.2. Unplug the power once the nozzle cleaning begins. This is important, it stops the printer head from moving and keeps it in an unlocked position.3. While the printer head is unlocked and the power is turned off, remove your secondary printer cartridges (if equipped) from the movable printhead. Mark each one to help remember the order they go in!4. With the secondary cartridges removed, you should see 4 little nipples/ports corresponding to each color cartridge.5. Grab a few paper towels and fold each one 3 times, lengthwise. Place 1 folded paper towel into the tray beneath the printhead assembly to help absorb the mess that is about to come out from it.5. Use the cleaning kit with the hose/tube FIRMLY attached to the syringe and fill the syringe with the cleaning solution.6. FIRMLY attach the other end of the hose/tube from the syringe to the nipple/port on your printer and begin applying pressure to the syringe plunger to eject the cleaning solution into the port. Once the syringe is empty, carefully disconnect the hose/tube from the print nipple/port and dab it clean on a paper towel. Now you can refill the syringe and repeat the procedure on the same port to ensure it is cleaned.7. After the second flushing, slide the printhead over to remove the paper towel beneath it. (It is going to be a soggy mess.) Take your second paper towel to replace the one you just extracted.8. Repeat steps 5 and 6 (and 7 if necessary).9. Once you have cleaned all of the ports, dab up any spillage from the bottom of the printhead before you reinstall the secondary cartridges and remove the paper towel from beneath the print head.10. Reinstall the secondary printheads making sure they go back in the correct order or your prints will come out discolored and odd looking.11. Run 2 or 3 print head tests on fresh paper to verify the printer is working correctly. It may take 2 (in my case 3) times for this test to complete properly with freshly cleaned ports because it needs to flush out the residual cleaning solution from the ports.12. Enjoy your Like New printer!Ver másVer menos
47 personas la encontraron útil