




Jenny U
One man and on the hinges is doable - good door.
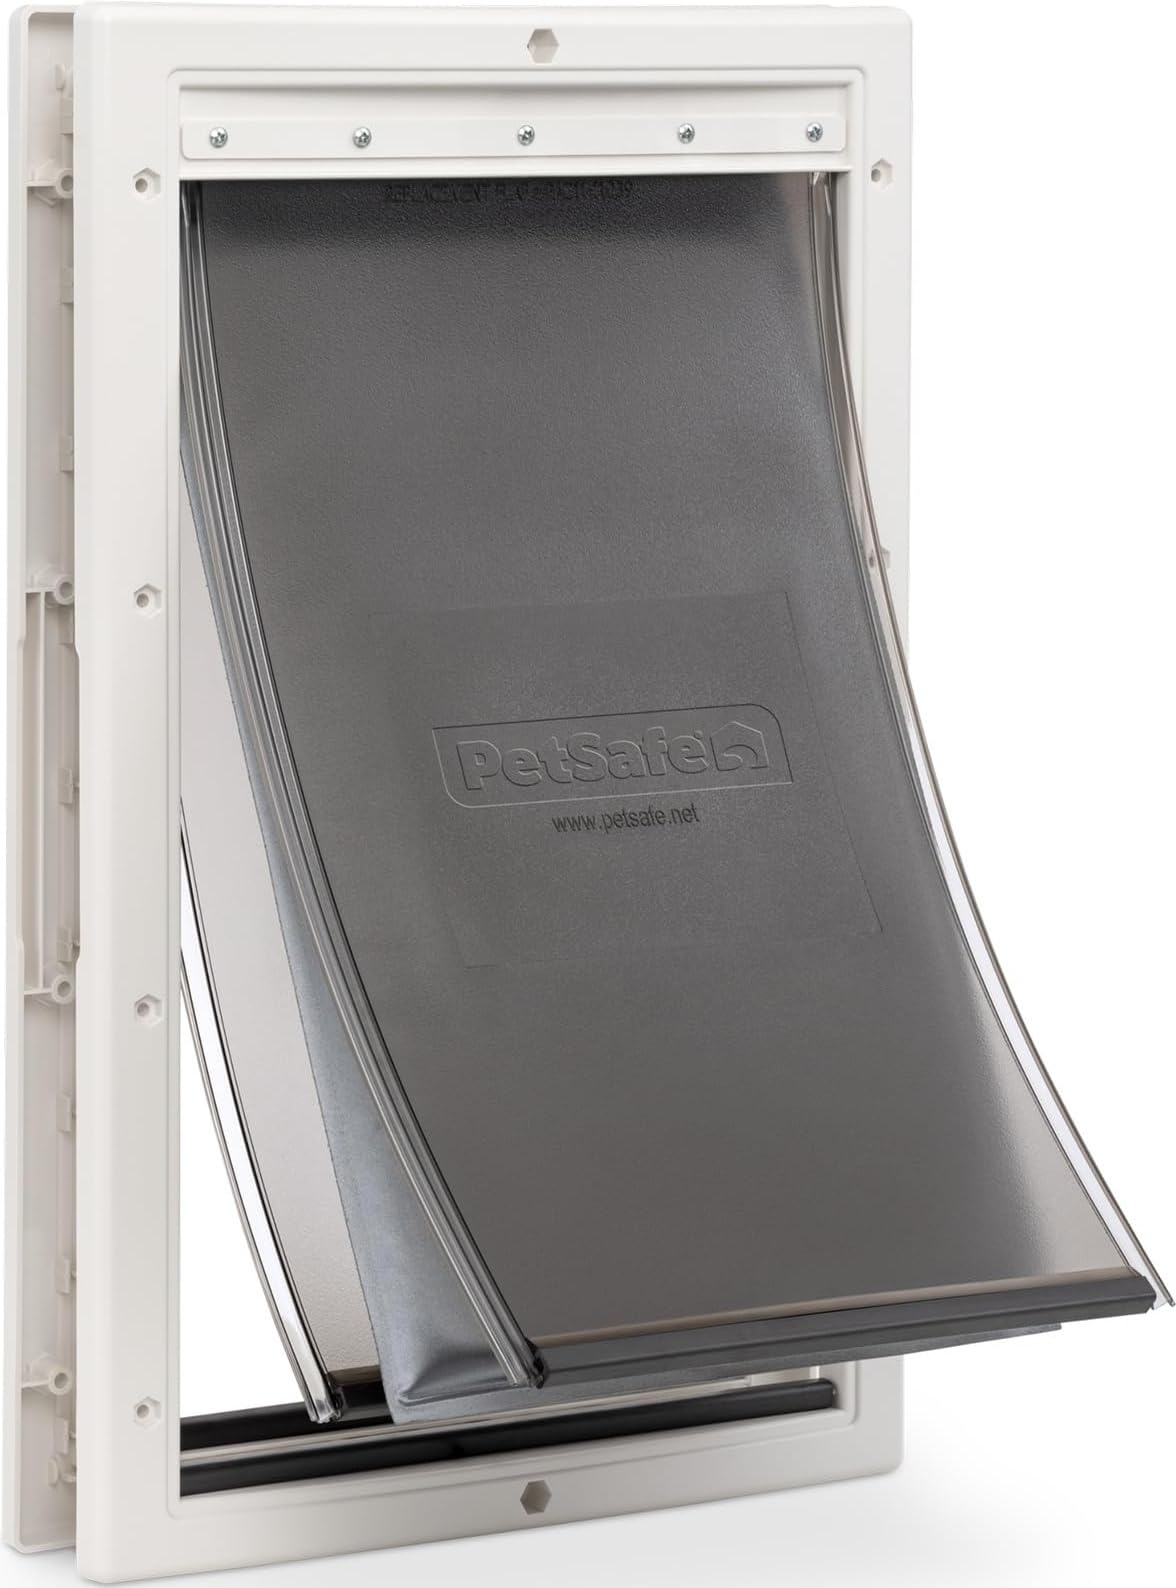
Installed 6 of these in 3 homes now. They work well. Installation requires some decent skills, a jigsaw with a 4" blade for the door material (not the typical length), drill to make the pilot hole, philips screwdriver, caulking, duct tape, industrial scissors/plastic saw/metal shears/knife (to cut plastic in a straight line), clamp, a vacuum, and some patience. May want to get metal screws to replace plastic ones they provide. A one hour job if you leave the door on the hinges and are doing it alone. I've installed all but one with the door on it's hinges and by myself. Easier if working alone. One or two cuss word project.These work well for 3-4 years and then you need just need to buy a replacement flap. The door is loud with the magnets flipflopping.A few hints:1. There is an inside frame and an outside frame. In between you cut (4) 3" x 1/8" plastic strips that go against the 4 inside edges of the rectangular door cut out hole. You preinstall them on one side of the frame in narrow slots, feed that assembly through, and try to make the 4 sides slide into the small notches on the other side of the frame. This is where the cuss words spill out. It's nearly impossible to make all four bendable stips align in a perfect rectangle as you are messing with the flaps dropping down. The plastic pieces also try to fall off the other side. It's possible with 2 people but still very hard. It will help tremendously to unscrew and remove all flaps (they are replaceable, so they are designed to be removed). Lay the inside frame down on a table, insert the plastic pieces, tape the corners to each other to make it a solid rectangle of plastic, go around and tape the entire perimeter 2x (it'll make sense when you see it), and then tape the plastic rectangle to the inside frame in multiple spots. If you don't, these pieces will flop out or drop off while you are trying to align them in the other side.2. When you insert one side into the door hole (on its hinges), straddle the door, mate the the other frame, and align the bottom of it to get the plastic interior piece in its channel (so the top and sides are tipped out still. If you have a clamp, use it through the cut out to hold the bottom of both sides in both grooves while you line up the sides, and then the top, and manipulate these into their grooves. Have the screws and nuts handy to insert into any one of the aligned holes and hand tighten to secure the plastic. This is the hardest part.3. The next hardest is aligning holes (there are about 12). The plastic screws bend, so you have to push from one side while you look through the holes on the other side to see where the tip is. You need to realign, look for daylight, and watch the screw come through. Repeat for all holes. Again, one clamp allows the assembly to stay together while letting you move it for alignment. Metal screws will be easier.4. Plastic screws are annoying and easy to strip the heads, but they keep you from overtorquing and cracking the plastic frame. If you use a drill and Phillips head, don't tighten all the way and finish with lowest torque or a manual screw driver, using an alternating pattern to tighten, going around a few times.5. If your spouse or buddy will help and not comment and make suggestions, it'll reduce the time by 15 minutes.6. Door on hinge gives you better freedom to lean around, seeing one side and then the other, which probably is done 20 times. On a sawhorse its harder to get up and down trying to align the plastic edges, but you don't have to take off and reinstall the flaps - you just have to reinstall the entire door!7. Photos - interior garage wood door, exterior foam/metal door, taping the inside to hold steadyVer másVer menos
15 personas la encontraron útil